Multi-Clauding Like a Boss
In December 2025, with the release of Claude Opus 4.5, the software engineering world realized that things will never be the same again. Opus 4.5 is the first model that is able to run complex reasoning chains and create code that is correct, succinct, and feels like code you would have written yourself - including following your code style and conventions across multiple files and refactors.
When ChatGPT originally came out, in November of 2022 (which feels like an eternity ago), there was already a hint that LLMs and coding were a great match. One of my first learning projects was llm-code in May 2023, exploring how GPT3.5 could be coerced into writing code on the terminal.
Thanks to LLM assist, I’ve written more code in 2025 than I have in any other year of my career, including a decade where I was a full-time engineer.
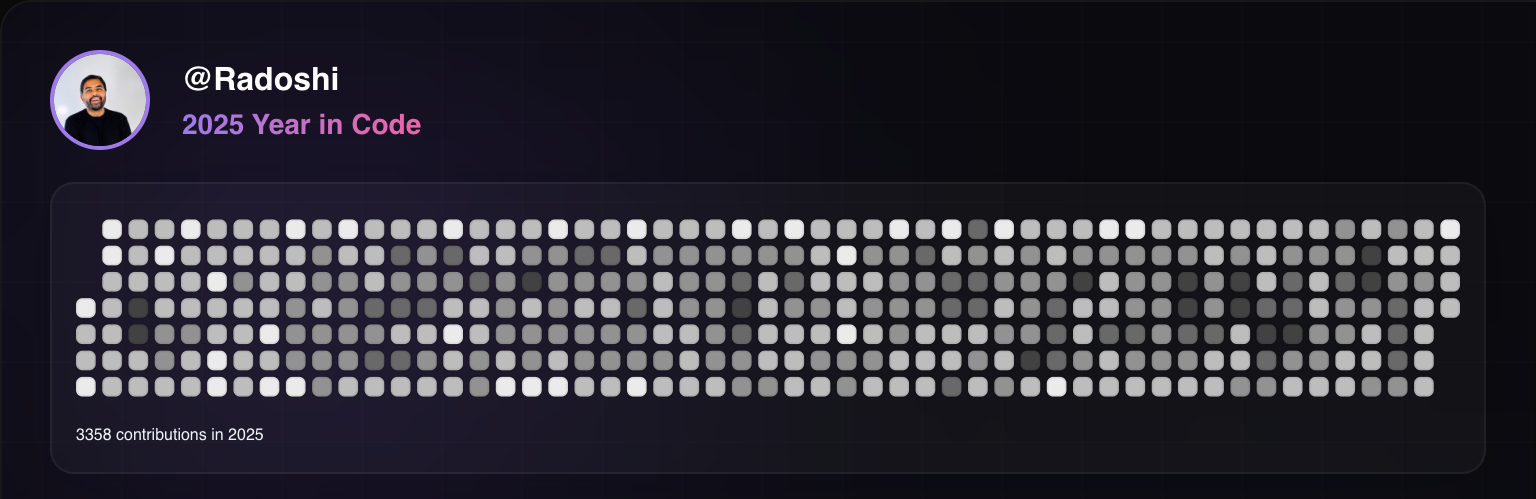 Generated using git-wrapped
I fully expect that by the end of 2026, the entire world is effectively using LLMs to write software and hand-written software will soon get delegated into the educational / learning category or for niche software without adequate training data. This claim would have seemed absurd a few years ago, but doesn’t feel as crazy now. To understand the basis of this claim, one has to use Claude Code on a production codebase for a few weeks and the conclusion feels obvious.
Like most futures, this one is here but unevenly distributed. I’ll go into some detail here on how our setup at Hiro works, what works for us and what doesn’t (yet), and provide some references. Prognostications on the future of software development and engineering will come in a follow-up post ~week from now.
Contents
- Setup and Install — Claude subscription, Claude Code, Terminal, Code editor
- Commands — Repository init, monorepo setup, code checkouts
- Workflow — Plan/Write/Review, Think/Test/Write/Review, permissions, subagents, MCP
- Multi-Claude like a boss — Running multiple Claudes in parallel
- Important note — Code review expectations
- References — Links, tmux.conf, commit command
Setup and Install#
Claude subscription#
First thing you need. I strongly recommend the $200 max subscription if you’re doing development professionally, or at least the $100 subscription. You can upgrade pretty easily as you go along, but the thing you don’t want to do is try and use Sonnet or some of the weaker models. You’ll have poorer results and get frustrated quickly because weaker models will deliver suboptimal results that need substantial manual review and editing to get the code over the line.
Claude code#
From official Claude docs you can install it using curl, npm, or homebrew. In our case, we use nvm pretty religiously and pin all our npm deps, so using npm to install it makes sense. Claude does auto-upgrade and managing claude upgrade cycles has not proven to be challenging.
Terminal#
Ghostty is my terminal of choice, iTerm and Warp get honorable mentions.
tmux is a MUST. It doesn’t take long to learn it. Configure tmux using Claude Code - this way you don’t really need to learn the intricacies of the file. I’ll put my tmux.conf in the references section below.
Code editor#
This almost doesn’t matter. I use Cursor because I like its tab completion model, but regularly switch back to VSCode and nvim for quick terminal based edits.
Commands#
From here on out, I’ll assume you have Claude Code up and running and can fire commands.
Repository initialization#
/init - Quickly generate your CLAUDE.md file that is at the repo root. Optional for now: Read through the file and make manual edits (or getting Claude to edit) to tune it to your codebase.
Monorep setup#
Hiro codebase is a small-medium sized monorepo with various directories for backend (python), frontend/web (typescript), frontend/mobile (typescript), terraform, data etc. We have multiple Claude.md files across the monorepo. We fire claude from root - it seems to reference the correct CLAUDE.md file, in addition to the root one, when working on a particular part of the codebase.
See the “Customize your setup” section in Claude best practices from Anthropic.
Commands, plugins, subagents#
These are important and easy to setup, but we will explore these in the context of workflows 👇🏽
Code checkouts#
I tend to have about 5 checkouts of my codebase, in different directories, each tied to a different tmux window. I do not use git-worktrees - I tried it, couldn’t really get it to work well because our repo has other dependencies like a sqlitedb that must be maintained with migrations. It’s just much easier to have a complete checkout living in a directory.
Each checkout is its own reality - I can run dev servers and mess with the local db without affecting anything else. Each checkout often has a bunch of branches; I use git-town to do stacked changes (sapling is another alternative) but that’s a whole different post by itself. One branch may be in a few checkouts; it mostly doesn’t matter as long as we maintain that each tmux window and subsequent checkout is its own sealed world.
Note: 5 is a bit of trial-and-error. My brain maxes out around 3-4 claudes running in parallel, the 5th is for random one-offs.
Workflow#
Use
Ctrl-Tabto quickly cycle through modes.
Plan, Write, Review#
When building a new feature, I almost always start in Plan mode. You tell Claude what you’d like it to do, or point to a Linear ticket or Slack thread and let it go to town exploring. Once claude comes up with a plan, I will go through and read the plan, making edits inline. If the edits are substantial, I’ll just prompt claude to keep planning in the direction that I want to go.
I consider most plans and explorations to be throw-away. If I don’t like the direction things are going, I hit /clear and just start again.
Once the plan is done, I let Claude rip using Accept Edits mode (Ctrl-Tab your way into this, Claude will also prompt you).
Here you’ll hit your first roadblock, with Claude asking you for a bunch of permissions.
Sidebar: Permission management#
I do not like running Claude in Dangerously accept all permissions mode. Turns out, for most operations on a reasonably tuned codebase, you don’t need a ton of crazy commands. Most of our commands tend to fall in the Bash(ls:*) or Bash(git diff:*) type buckets. For all of these, when we see us needing to give Claude these permissions, we add it to the project permission set, so everyone benefits from it. It should take a few iterations, but you’ll rapidly find yourself rarely needing to give Claude permissions.
Sidebar: Shared .claude directories#
I strongly recommend having project level claude settings, at the root of your codebase. This allows everyone working on that codebase to contribute while having everything version controlled and merged in. This requires everyone in the company to agree on coding practices and conventions - if you don’t have that, then this serves as a good forcing function.
Let’s continue.
Once claude is done writing all your code and your tests, you’ll want it to execute tests and review the code. Here you have two options:
- Just tell claude how to execute tests. In our case we make liberal use of
justfiles to capture common commands and have Claude execute those. However, this does pollute context quickly if your tests spew a lot or you have one tests that blows up at the beginning of the run etc. - Use a sub-agent to do the test linting, formatting, testing. The benefit of this approach is that your main agent context stays clean.
Sidebar: Subagents#
Now that we have a clear use for sub-agents, let’s set one up. Simply hit /agents from claude code and follow the prompts to setup your first sub-agent. We set ours to be project wide, so they can be shared across the team.
Similar to CLAUDE.md, it is worth reviewing these and tuning them. One important adjustment my colleague made to our agents file was to tell Claude to run just the tests that it thinks exercise the code that was written, thus reducing the amount of time the agent takes to run (instead of running the world).
Moving on.
Once we have our code in a good place, it’s time to commit and push to GitHub. You can just tell claude to do so, and it’ll do the right thing. However, you’ll find yourself doing this a lot, so let’s be lazy and write a shortcut. Introducing commands.
Sidebar: Commands#
Commands are literally aliases for prompts. You can add commands by dropping a file into the .claude/commands directory. We prefer to kebab-case our commands like pr-commit-and-push.md. The entire commit-and-push command is in references below.
At this point, claude is done. My followups here are to manually test and check if we actually got things right, and to carefully review the code in question.
When making small adjustments (like a docstring here or there), it’s much easier to pop into an editor and tune quickly. For large adjustments, I will either have claude do it, or potentially throw everything away and start again.
Think, Test, Write, Review#
The second workflow is typically used when fixing bugs.
I start with describing the bug or pointing Claude at Linear, and then having it think and write a test to explore the bug.
Sidebar: MCP#
Setting up MCPs in claude is straightforward. /mcp will open up a list, most tools out there have instructions on how to setup their MCP integrations. Linear’s is quite good and supports both token and OAuth based auth. If using token auth, be careful not to merge your token into your codebase.
Moving on: when the test is written, Claude usually prompts me to let it continue on and fix the code, which is also straightforward.
The format, lint, test and review steps are not substantially different from the one above.
Multi-Claude like a boss#
Claudes can take some time to run, it’s nice to be able to do a few things in parallel.
I have multiple checkouts of our code (about 5, as mentioned above). I have one tmux session running in a terminal, with good naming so that window-1 points to hiro-1 points to the same named directory. This mostly helps me stay sane.
The central limiting factor with multi-claude is my ability to keep 5 different bugs or features in my head, test them thoroughly, review the code, etc. My brain gets completely fried after doing Claude x3 for ~2 hours.
Important note#
Since code generation is no longer the limiting factor, it can be really easy to write a thousands of lines of bad code and send it over to your colleagues to review. We require all engineers to stand by the code that they are putting up for review. Typically, most PRs will have comments about which parts were completely vibed (increasingly all of it) and specific comments to guide the reviewer through potentially tricky areas. We give each other feedback around reducing the slop (especially around tests where Claude really wants to test the implementation and be thorough) and continue to tune our Claudes.
References#
- Claude best practices from Anthropic. Excellent, readable tips.
- Boris Cherney’s X thread on how the creator of Claude code uses it. Maps to the best practices article that he wrote.
My tmux.conf file#
# split panes using | and -
bind | split-window -h
bind - split-window -v
unbind '"'
unbind %

# switch panes using Alt-arrow without prefix
bind h select-pane -L
bind l select-pane -R
bind k select-pane -U
bind j select-pane -D

# Enable mouse control (clickable windows, panes, resizable panes)
set -g mouse on

# Make active pane visually distinct
set -g pane-active-border-style 'fg=green,bold'
set -g pane-border-style 'fg=colour238'

# Reset window background to default (no tint)
set -g window-style 'default'
set -g window-active-style 'default'
Our commit-and-push command#
Goal: Commit outstanding changes to a branch and push upstream.

Tasks:

- If the current branch is main, create a new branch and PR using the `pr-new` command.
- Commit all the outstanding changes to the current branch.
- Push the current branch to origin.